Skill Level
Beginner
Time to Make
1 hour
How to Make
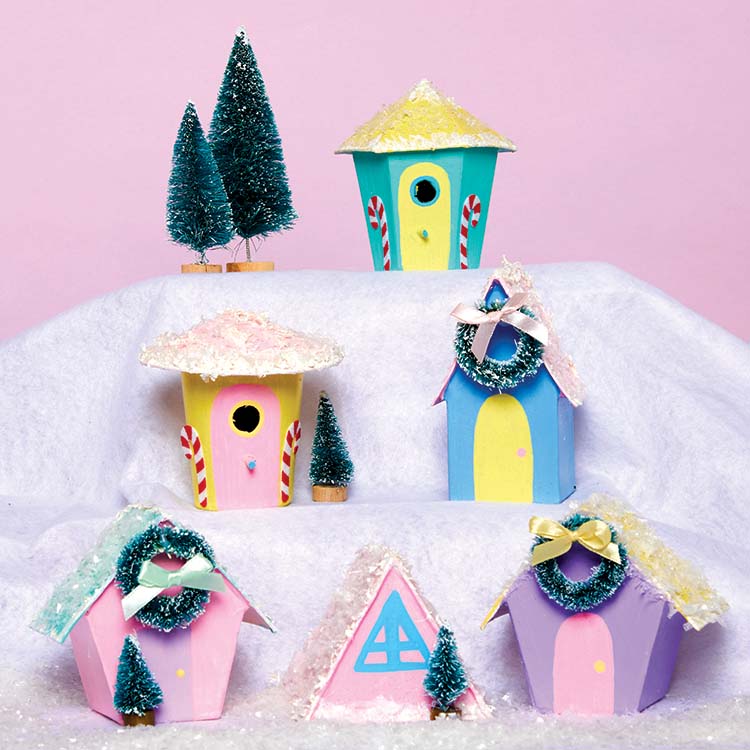
- Decide what colours your houses will be, making the roof a contrasting shade to the rest. If you have white paint, it is a good idea to do a layer of that first so the colours are more vivid on the craft material.
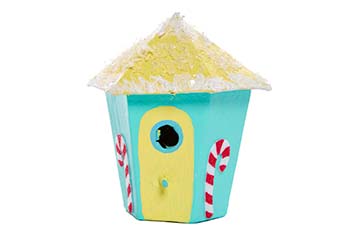
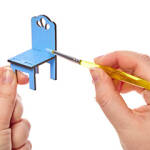
- Paint your houses and roofs in your chosen colours and leave to dry. You may need to do a couple of coats. Once dry draw outlines of doors, windows or peepholes on each of your houses and paint them in contrasting colours to the houses. You can use Deco pens for a neater finish or painting them on will still be perfect. Make sure to outline around the holes and also make your door knobs a contrasting colour too.
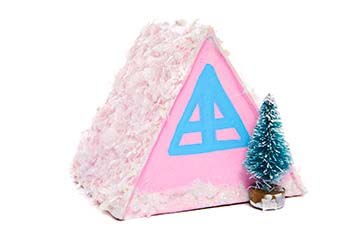
- Once the paint is dry, add a layer of pva glue on the roofs and sprinkle on the artificial snow and glitter. You can also some more white paint in the areas where more snow would normally sit for an effective snowy look.
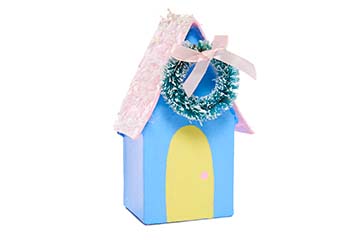
- Take off the red ribbon from the mini wreaths and replace with a pastel coloured one using glue and attach to your chosen houses above the doors. You can also glue trees in place and stick your candy canes on too.
- Display together on a shelf or mantel with fairy lights and more artificial snow around them for a Stylish pastel Christmas village!
Step 1
Step 2
Step 3










Share
×You can copy this link into emails, text messages or post on social media.
Share now