
Skill Level
Advanced
Time to Make
1 hour
How to Make
- Using the template provided, take a sheet of shrink plastic and lay it centrally over the template with the rough side facing upwards. Trace the shape onto the plastic using pen.
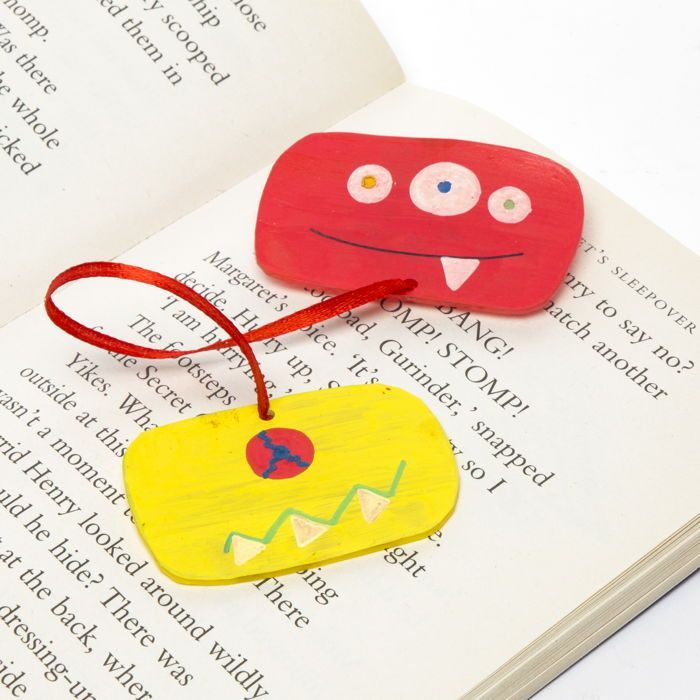
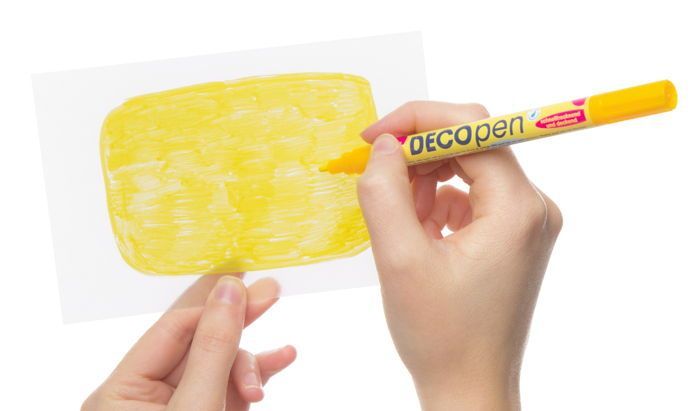
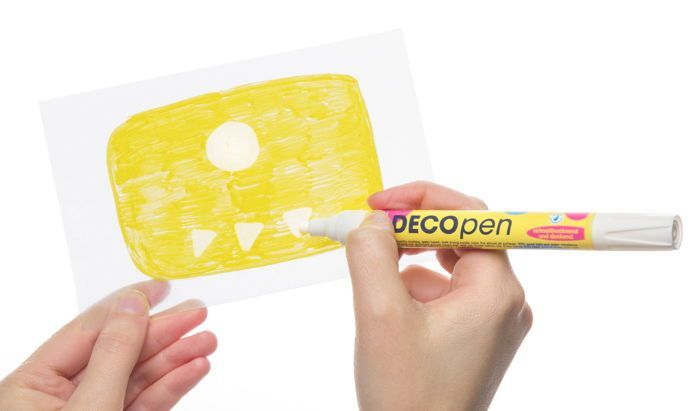
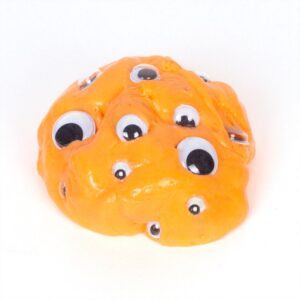
- Using the picture as a guide, draw on the monster facial features such as a single eyeball and pointed teeth, then colour in the background and details with acrylic paint pen in the shades of your choice. Cut the monster shape out with scissors or a craft knife.
- Punch a hole in the top of this monster, making sure it's in the centre, as shown, then put it to one side. Take the template and another sheet of shrink plastic and trace a second monster shape.
- Draw on different facial features using the picture as a guide, or get creative and draw up your own scary character! Colour in the details and the background - then cut out carefully and punch a hole in the bottom of this monster, in the middle, as shown.
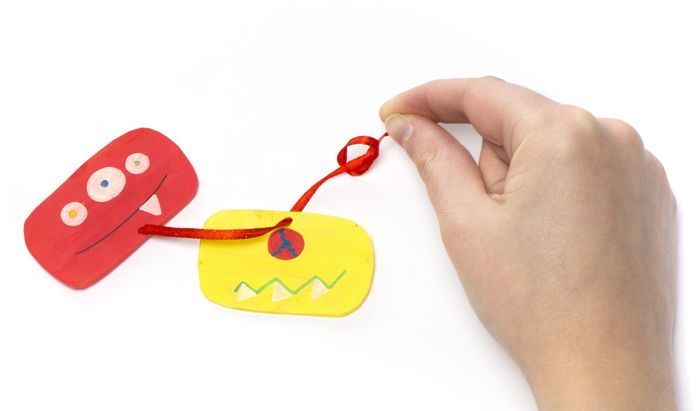
- Bake in an oven or use a heat tool to shrink, according to the manufacturer's instructions. Leave to cool. Once cool, cut a length of narrow satin ribbon slightly longer than the height of a standard book. Tie the top end of the ribbon through the bottom hole of one of the monsters, and the bottom end of the ribbon through the top hole of the second monster. Knot to secure and trim any excess.
Step 1
Step 2
Step 3


Share
×You can copy this link into emails, text messages or post on social media.
Share now