

How to Make
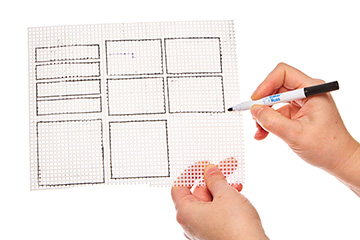
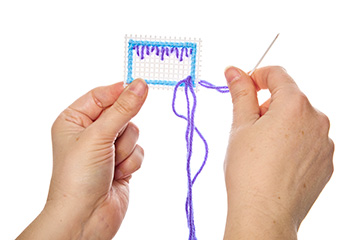
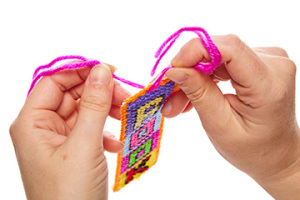
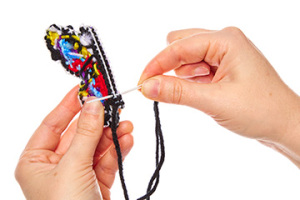
To cast on: Insert it into the back of the fabric to make your first stitch. Hold an inch tail of the thread at the back of your fabric. As you make your first stitches, be sure to catch the thread at the back within it to secure it in place. To cast off: When you need to use a new thread or if you’ve come to the end of your design, make the last stitch as you usually would, run the needle through the back of the last few stitches. Begin by cutting your mesh. You will need: 17x17 squares for the top of the lid and 4x5x17 squares for the edges of the lid. You will also need 15x15 squares for the base and 15x10 for the sides of the base.- Thread your needle and starting on the corner square and cast on.
- Following the pattern (or one of your own) make a half stitch or a cross stitch in each coloured square changing colour as needed.
- For the stars I just skipped boxes taking the thread over the blank boxes.
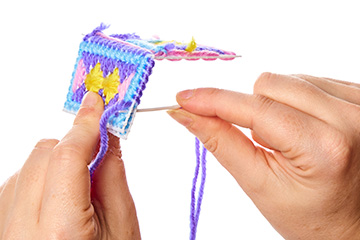
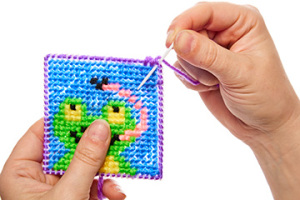
- Once you have completed each flat piece of your design, we are going to sew these pieces together to make a 3d shape.
- Separate the lid parts from the base parts.
- Hold one of the lid edges against the top of the lid and using a whip stitch sew them together.
- Repeat this on all 4 edges and the sides.
- Then repeat separately for the box base.
Step 1
Step 2
Step 3


Share
×You can copy this link into emails, text messages or post on social media.
Share now