How to Make
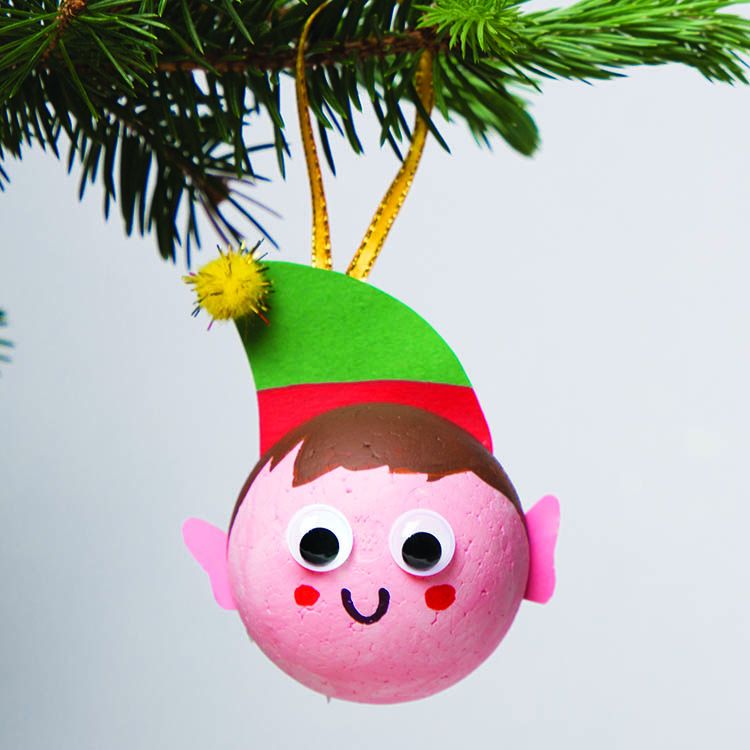
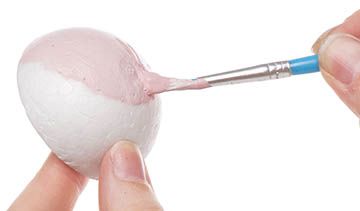
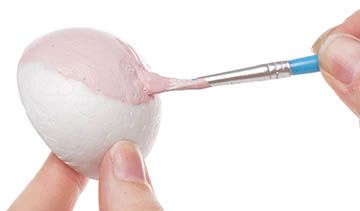
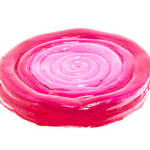
- Paint a polystyrene half ball pink by mixing red and white acrylic paint together. Leave to dry and then add another coat. Leave to dry.
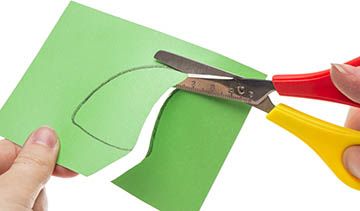
- Download the elf template and print off. Use the template to cut out an elf hat shape onto a sheet of green card.
- Cut out the elf hat shape and draw a red ribbon along the bottom of the hat using a red deco pen. Leave to dry.
- Stick a yellow glitter pom pom to the end of the elf’s hat.
- Make some brown paint by mixing red and green paint together. Paint on some elf hair at the top of the polystyrene half ball. Alternatively, you can paint the elf’s hair any colour of your choice. Leave to dry.
- Stick the elf’s hat to the top of the back of the polystyrene half ball using a glue stick.
- Using the template cut out 2 elf ears from a sheet of pink card.
- Stick the elf ears to either side of the polystyrene half ball at the back using a glue stick.
- Stick on 2 wiggle eyes.
- Draw on a smile using a black deco pen and some rosy cheeks using a red deco pen. Leave to dry.
- Cut a piece of festive ribbon around 15cm long and tie in a loop secured with a double knot. Attach the loop to the back of the top of the polystyrene half ball using a piece of sticky tape.
Step 1
Step 2
Step 3





Share
×You can copy this link into emails, text messages or post on social media.
Share now