
Skill Level
Beginner
Time to Make
1 hour
How to Make
- Choose your patterned paper designs from the pack. Cut small, tapered rectangles from the sheets - each rectangle will be a bead, so cut as many as you think you are going to need.
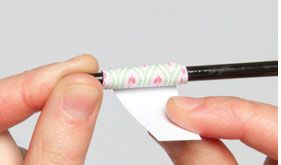
- Take a rectangle and roll around the narrow handle of a paintbrush, starting with the widest end first. Keep rolling (keeping the paper rolled as tightly as possible as you go) then add a dab of PVA glue to the tapered end and press to keep in place. Hold for a few seconds to ensure it's secure.
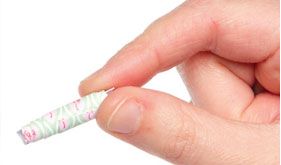
- Once dry, slip the bead off the paintbrush and pinch lightly to make sure it's secure. Repeat this process for each bead until you have enough for your bracelet - we used six.
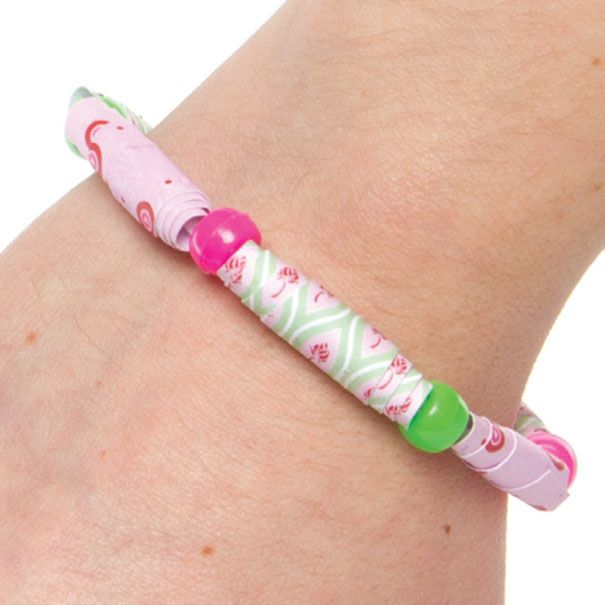
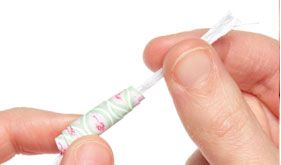
- Cut a length of elastic to fit your wrist, then feed on the paper beads, alternating with coloured plastic beads. Tie the ends in a knot, making sure the bracelet is wide enough to fit over your hand - then dab the knot with a little PVA to secure it. Leave to dry to finish.
Step 1
Step 2
Step 3


Share
×You can copy this link into emails, text messages or post on social media.
Share now