
Skill Level
Beginner
Time to Make
1 hour
How to Make
- Glue 2 polystyrene sheets together to make a double thickness. Leave to dry.
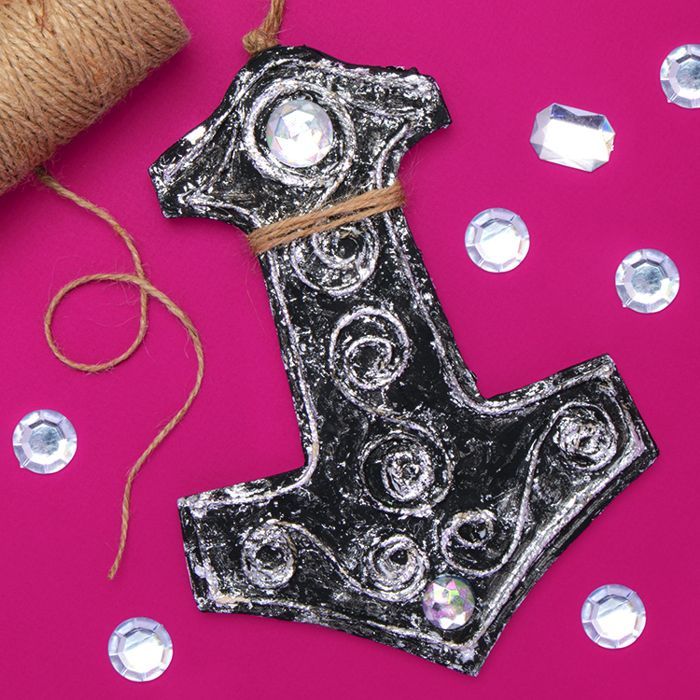
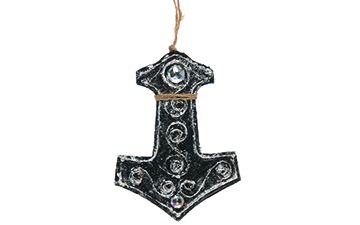
- Fold a piece of A4 card in half. Draw half a hammer shape to fill one side, cut it out then open it out into a symmetrical shape. Place the card shape onto the polystyrene sheet then draw around it and cut it out.
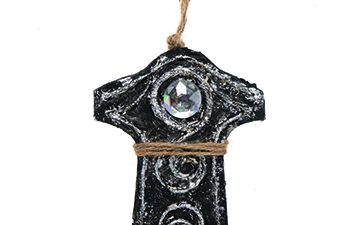
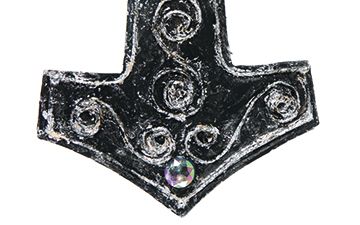
- Brush glue around the edge of the hammer, leave to dry for a few minutes until the surface becomes tacky then coil piece of string around the edge to make a border. Glue some shorter pieces of string into spiral decorations. Leave to dry.
- Brush glue over hammer covering the string patterns and the polystyrene surface. Carefully press a sheet of silver leaf onto the surface with your fingers then use a soft paintbrush to gently press the silver over the string pattern. If the brush starts to get sticky, change it for a new dry one. Add more silver leaf until the hammer is covered. Leave to dry.
- Carefully rub off any loose pieces of silver leaf with your fingers then paint over the top of the hammer around the string patterns with black paint. If any paint goes onto the raised patterns, this can be gently rubbed off with paper towel to reveal the silver colour underneath. Leave to dry.
- Glue a gem onto the hammer as decoration. Wrap string, twine or ribbon around the top of the hammer to hang it up.
Step 1
Step 2
Step 3


Share
×You can copy this link into emails, text messages or post on social media.
Share now