
Skill Level
Beginner
Time to Make
30 mins
How to Make
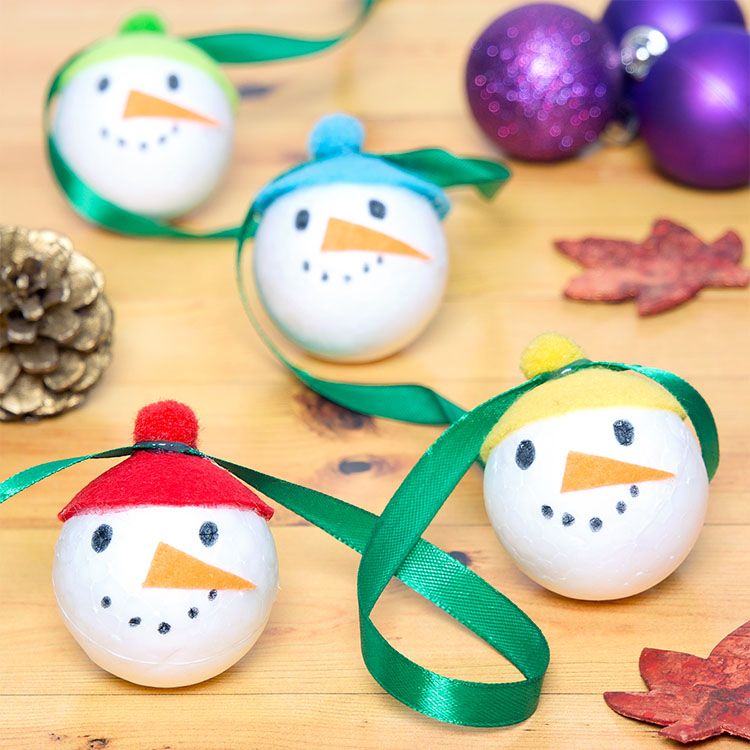
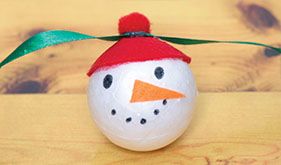
- Use an egg cup as a template, draw a small circle onto a sheet of adhesive felt. Make a small cut along the radius and remove the backing and secure to the top of a medium sized polystyrene ball, overlapping at the back to form a hat.
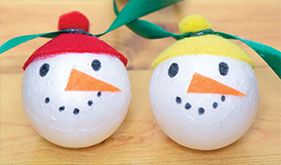
- Snip a small triangle from the orange adhesive felt, remove the backing and secure to the front of the ball to make the nose. Use the black marker pen to add the eyes and mouth. Repeat to create a selection of snowmen in a range of felt colours.
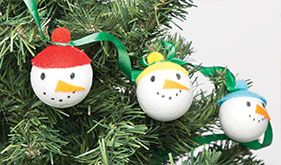
- Cut a length of ribbon and knot a small hanging loop at the end. Apply a dab of glue to the top of the hat of the first snowman and secure the ribbon in place. Add a second dab of glue and secure a coordinating mini pom pom on top. Continue securing the remaining snowmen onto the ribbon at even intervals, and finish with a knotted hanging loop at the other end.
- Fill with goodies and then tie vibrant ribbons around each end.
- Add personalised handwritten name tags using bark reindeers, or mix and match tags using off cuts of the patterned card.
Step 1
Step 2
Step 3


Share
×You can copy this link into emails, text messages or post on social media.
Share now