
Skill Level
Beginner
Time to Make
1 hour
How to Make
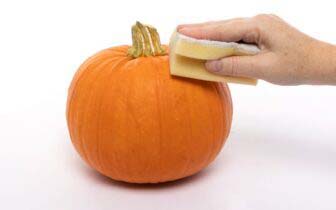
- Clean your pumpkin with soapy water and dry thoroughly.
- The paint will drip down from the pumpkin, so use some newspaper to protect your work surfaces. A paper plate or disposable foil tray is ideal to catch the paint drips. Place your pumpkin on a covered upside-down cup, bowl, or some stones on top of the paper plate or foil tray.
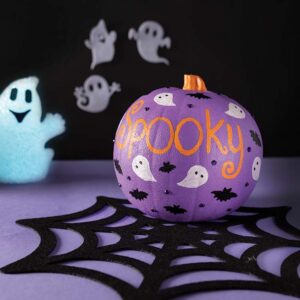
- Choose your colours. We used orange, purple, green, yellow and white.
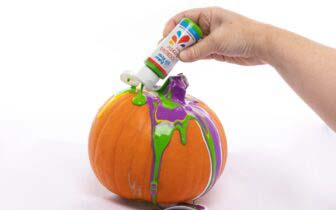
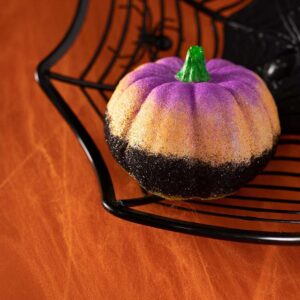
- Squeeze small amounts of the paint onto the pumpkin, alternating one colour at a time. Allow them to drip down.
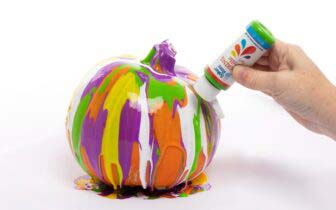
- Keep adding the paint in small amounts to the pumpkin, to the top and to the sides until you are happy with the results.
- Allow to dry overnight and dab any bit of wet paint away from the base if it is still wet.
Step 1
Step 2
Step 3


Share
×You can copy this link into emails, text messages or post on social media.
Share now