
Skill Level
Beginner
Time to Make
1 hour

How to Make
- Separate your tissue paper into colours and tear or cut into squares. Place each colour into a separate bowl.
- Cover with warm water and leave overnight to soak.
- Choose a bowl and cover the outside with cling-film. Place it upside down and draw a zig-zag line with a marker pen.
- Use your hands to mash up the paper into pulp in each bowl.
- Take handfuls of the pulp and squeeze out the water, placing the pulp to one side. Then drain the water away and put the pulp back in the separate bowls.
- Add a generous amount of PVA glue to each bowl and mix it in well with your hands.
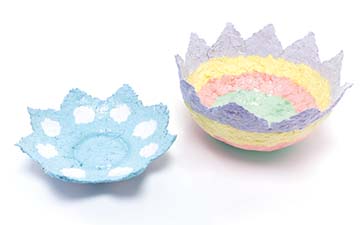
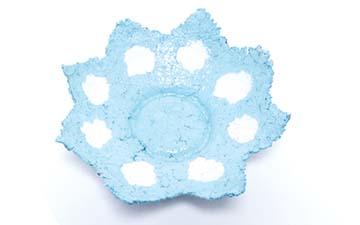
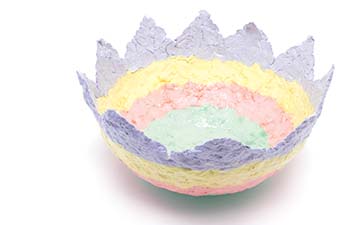
- Create your design with the different coloured paper pulp, by pressing onto the cling-film, inside the marked zig-zag line. Make sure there are no holes and press it all down firmly together.
- Using your fingertips, smooth some glue over the design.
- Allow to dry thoroughly in a warm, dry place.
- When completely dry, turn the bowl over and gently peel the clingfilm and paper- mache bowl away, then remove the cling-film.
- Finish your bowl with varnish or PVA Glue.
Step 1
Step 2
Step 3


Share
×You can copy this link into emails, text messages or post on social media.
Share now