
How to Make
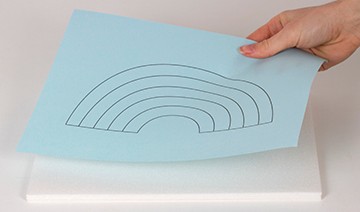
- Download and print out the rainbow template onto a sheet of blue pastel paper.
- Take a sheet of polystyrene and place a piece of double sided tape onto each edge of the sheet. Peel off the backing and place another polystyrene sheet on top to stick them together.
- Repeat step 2 so that you now have three polystyrene sheets stuck together. Then use the same technique to stick the rainbow template on top.
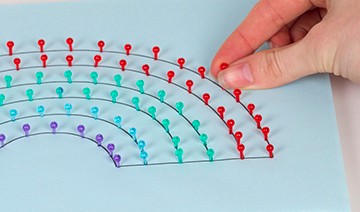
- Press the pins into the polystyrene at even points around the rainbow design. The pins should be pushed about two thirds of the way in, so there is enough room left to wrap the string around it. Be careful when using the pins - ask an adult for some help if you need to.
- Take some red embroidery wool and tie a knot around one of the pins in the top section of the rainbow. Make sure you leave about 2-3 inches of thread at the end, as you will need this later.
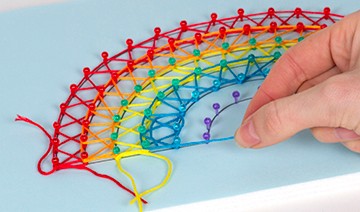
- Wrap the wool around each pin in this top section, making sure it crosses over the design in different directions. Try to make sure each pin in this section has been used at least once.
- Wrap the wool around the outside of the top section, then take it back to the pin you started with and tie a knot with the end of the thread that you left. For the upper curve the wool will need to go around the outside of the pins, and for the lower curve it will need to be on the inside of the pins.
- Repeat steps 5-7 using orange wool in the next section down. Then repeat again with yellow, then blue, then purple wool.
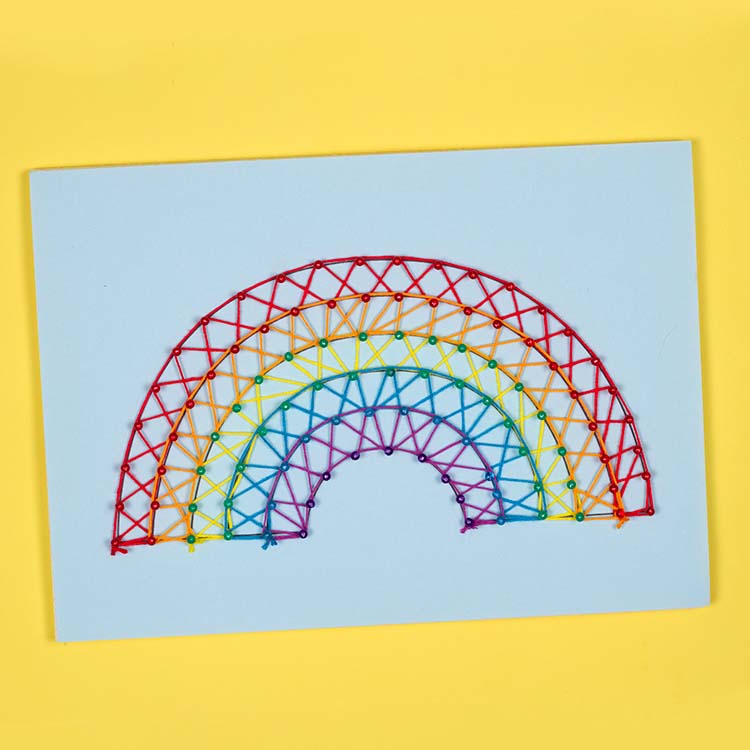
- Trim the ends of the wool to finish the rainbow design.
Step 1
Step 2
Step 3


Share
×You can copy this link into emails, text messages or post on social media.
Share now