
How to Make
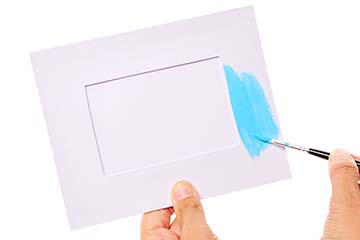
- Paint your frame in your chosen colour and leave to dry, you may need to do a couple of coats.
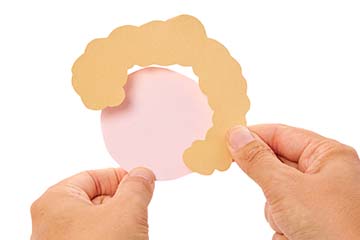
- Whilst the frame is drying, print and cut out your templates and keep numbers 1 & 2 separate. Trace your stencils onto your chosen skin tones and hair colour then cut out and set to one side.
- Decorate your friends T-shirts in your chosen design or colour. We painted vertical and horizontal lines with a thin brush for the red check top and for the flowers, we used the end of a paint brush to create dots in orange and yellow, then a thin brush for the leaf strokes.
- Whilst your paint is drying, stick the hair, neck and cheek templates in place. Now add your wiggle eyes and draw your other facial features and freckles on with a pen.
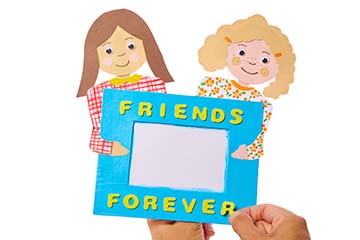
- Attach your heads to the top templates and then stick to the back of your frame. Once in place you can see where your arm and hand template can line up and be placed, stick this on the front using glue or double sided tape.
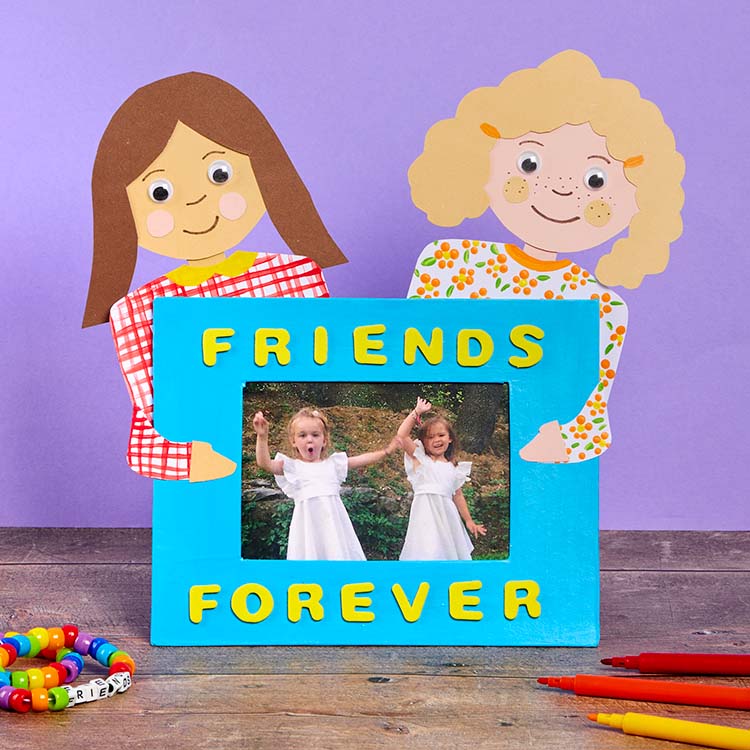
- Now add your chosen wording or slogan onto the front of your frame, peel the backs of your letters and press on.
- Add your chosen photo of you and your friend and display!
Step 1
Step 2
Step 3


Share
×You can copy this link into emails, text messages or post on social media.
Share now