
Skill Level
Beginner
Time to Make
30 mins
How to Make
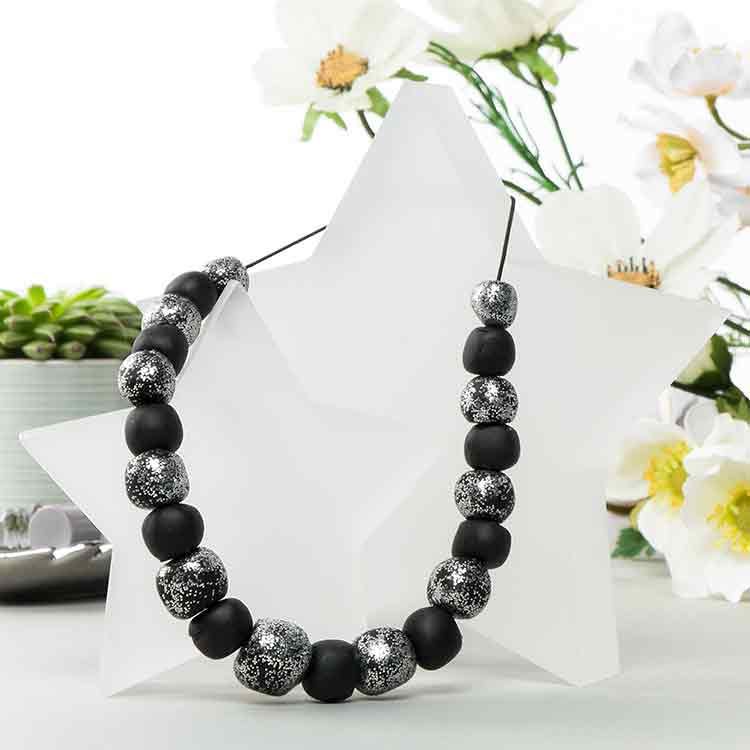
- Take a large block of black clay and roll out onto a clean surface with clean hands until soft and malleable. To make the necklace you need to create 21 beads of descending size, starting with your central bead which will be the biggest and working down from there in pairs, so the beads either side of the central bead will be roughly the same size.
- Don't worry if your beads aren't perfectly circular, they actually look better within the design if they're a little blocky and more like rocks than circles. For each pair of beads, roll out two similar sized blobs of clay, then manipulate between your palms to create the shape.
- Lay out your beads in the arrangement they will be threaded onto the elastic, with the largest bead in the centre and working outwards. Starting with the central bead, add a coating of silver glitter, then do the same for every other bead each side, using the picture as a guide.
- Pierce all the beads through the centre using a wooden skewer. Bake according to manufacturer's instructions and leave to cool. Once cool, arrange your beads out again as you mean to thread them on the elastic.
- Cut a piece of elastic big enough to fit easily around your neck [don't forget, it's a choker, so meant to be relatively tight fitting] plus a little excess for tying. Match the ends so you have a double thread and feed on the large centre beads so it hangs in the middle.
- Working out from the central bead, add all the other beads in alternate fashion, as shown, then tie in a double bow to secure.
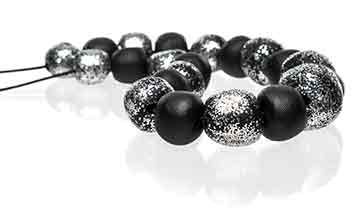
Step 1
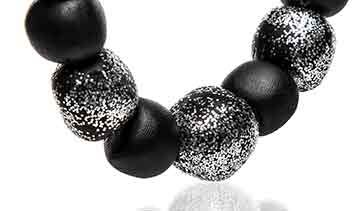
Step 2
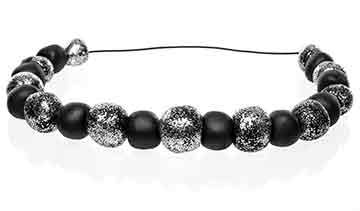
Step 3


Share
×You can copy this link into emails, text messages or post on social media.
Share now