Skill Level
Beginner
Time to Make
1 hour

How to Make
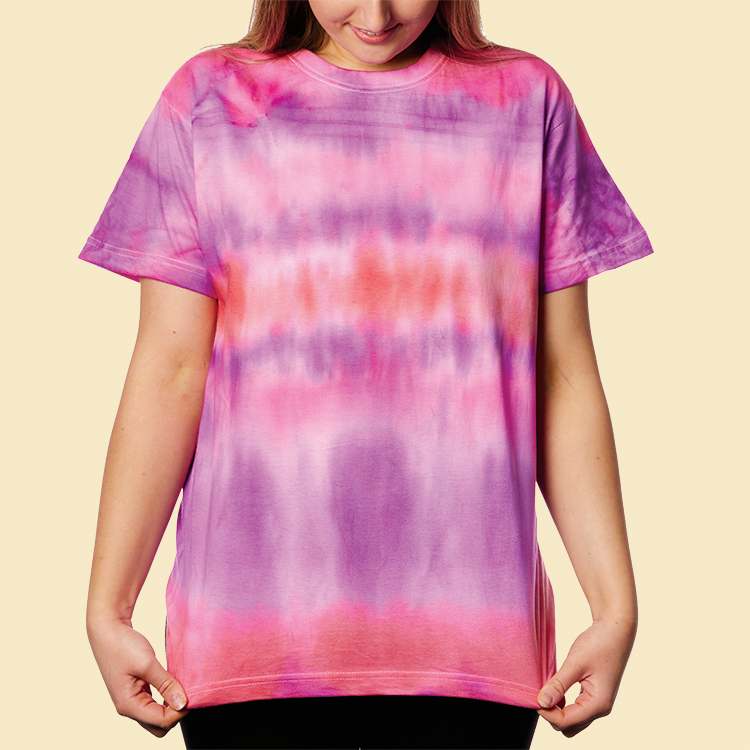
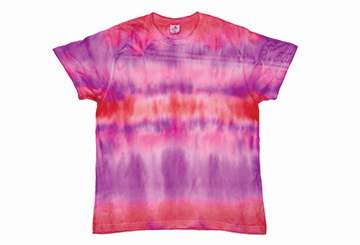
Before you start: Soak a T-shirt in a bowl of water then squeeze hard to remove as much water as possible, or rinse and spin dry the T-shirt in a washing machine. Follow the instructions in the kit for adding water to the dye bottles and applying it to the fabric. To make a horizontal stripe pattern:- Lay out the damp T-shirt flat on a clean work surface. Fold the T-shirt in half along the length, then 2 more times again along the length. Fold the sleeves around the T-shirt.
- Wrap an elastic band around the middle of the T-shirt to hold the shape then wrap 4 or 5 more elastic bands along the length of the folded fabric. Wrap each elastic band around the fabric 2 or 3 times.
- Cover your work surface with the polythene sheet from the kit then place a wire rack on top. Wear the gloves from the kit to protect your hands. Place the folded T-shirt onto the wire rack then squeeze coloured dye over the top. Turn it over then add more dye on the reverse side. Press and squeeze the fabric so the dye reaches inside the folds.
- Leave the T-shirt to dry for 6-8 hours on the wire rack. Remove all the elastic bands then open out the T-shirt. Leave it to dry out again if the middle is still damp.
- Rinse the T-shirt in water then leave it to dry out again. Cover the T-shirt with a thin cloth then press with a warm iron.
Step 1

Step 2

Step 3


Share
×You can copy this link into emails, text messages or post on social media.
Share now