
How to Make
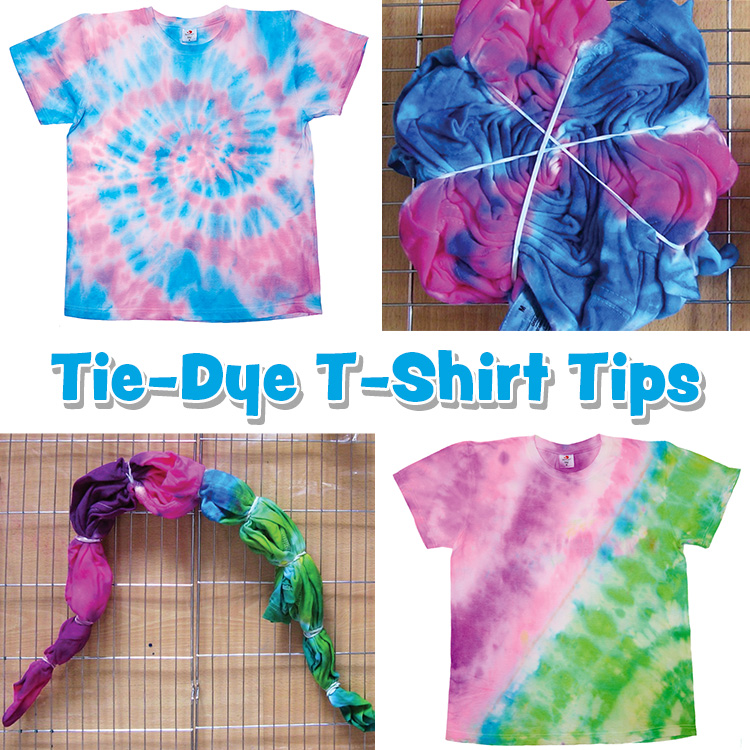
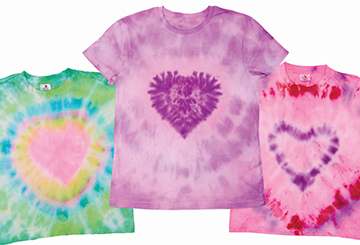
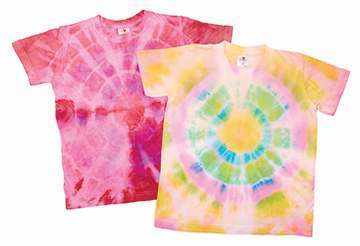
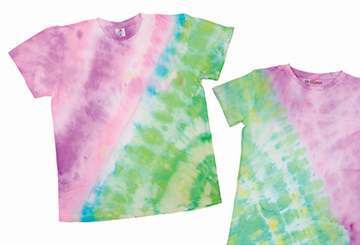
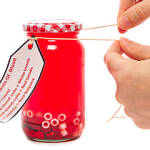
There are lots of ways to make exciting tie-dye patterns. The results will vary depending on the number of folds, how the fabric is folded and where the elastic bands are tied. If a T-shirt is tightly folded and wrapped before dying, the finished pattern may result in more white un-dyed areas. To add more colours, separate the folds then squeeze some extra dye in between the fabric layers. Wrap the elastic bands around the folded fabric 2 or 3 times. To tie a bigger area on the fabric, use 2 elastic bands each time. Always use a washable pen for drawing guidelines on fabric. Lines should disappear after rinsing but in case any trace is left, draw on the back of the T-shirt. Wear gloves for dying and when you remove the elastic bands. Keep paper towel handy to wipe up any dye spills and to soak up pools of dye when you open out the fabric. To rinse fabric with different dyed areas, try keeping the colours separate by holding the fabric under a running tap or dip it into a bowl of water to remove most of the dye from each section. Once this is done, you can wash the whole T-shirt together. Allow tie-dyed fabric to dry naturally and laid flat on an old towel or sheet. Hanging dyed fabric over a clothes rack or radiator may leave marks.Step 1
Step 2
Step 3


Share
×You can copy this link into emails, text messages or post on social media.
Share now