
Skill Level
Intermediate
Time to Make
1 hour
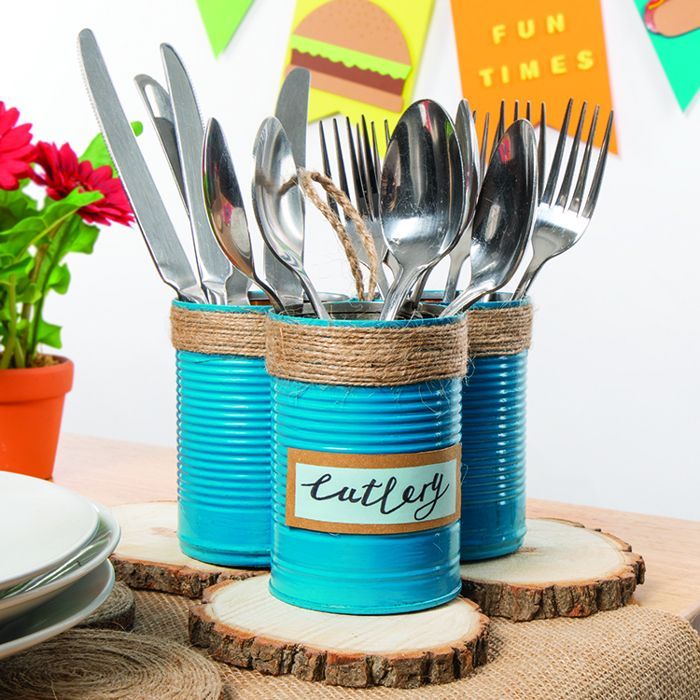
How to Make
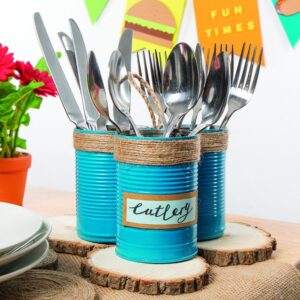
- Paint all 3 tins until well coated. You will need to apply at least 3 coats, allowing drying between each coat. Do not put too much paint on at once, keep even.
- Once fully dry, brush on a layer of acrylic satin varnish.
- Using a tin as a template, place on felt and draw around it. You will need 3 circles. Cut out. These will be the holders’ bases that should sit within the rim. If too big, cut down smaller to fit.
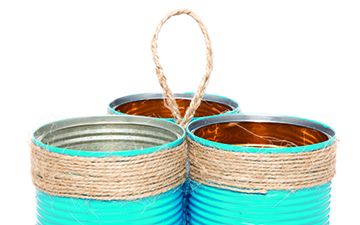
- Make a small marking on back of tins 2cm down from rim. Brush on PVA glue up to the mark and then coil the twine around the tins to the mark.
- Cut 3 pieces of twine 60cms long and plait them. This will form the handle.
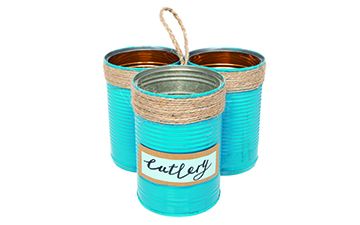
- Using a hot glue gun stick the 3 tins together (forming a triangle).
- Fold the plaited twine in half and feed up through the gap between the tins. This should come through 10cms.
- Turn holder over and with glue gun stick down the two ends of the handle to 2 tin bases. (This helps balance when holding).
- Stick down your 3 felt circles to tin bases.
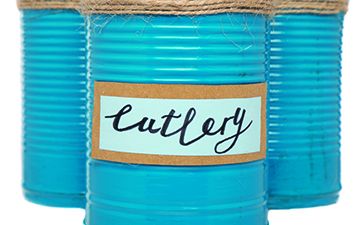
- To make the label cut a piece of brown card 8cm x 3cm, Cut a piece of blue card 7cm x 2cm. Stick the smaller piece onto the bigger leaving an even boarder all around.
- Write ‘cutlery’ with a felt pen onto your label then stick onto front of your holder using the glue gun.
Step 1
Step 2
Step 3


Share
×You can copy this link into emails, text messages or post on social media.
Share now