Skill Level
Beginner
Time to Make
30 mins
How to Make
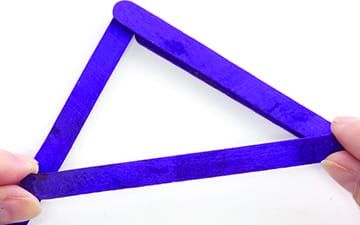
- Make a square with the coloured craft sticks (we used purple). Each side of the square will be 3 sticks long.
- Using Super Tacky Glue, stick on another layer of craft sticks on top of the first sticks, overlapping the other sticks to hold them all together.
- When the sticks have been joined, add a stick diagonally in each corner. This will give the structure added strength.
- Allow the frame to dry completely.
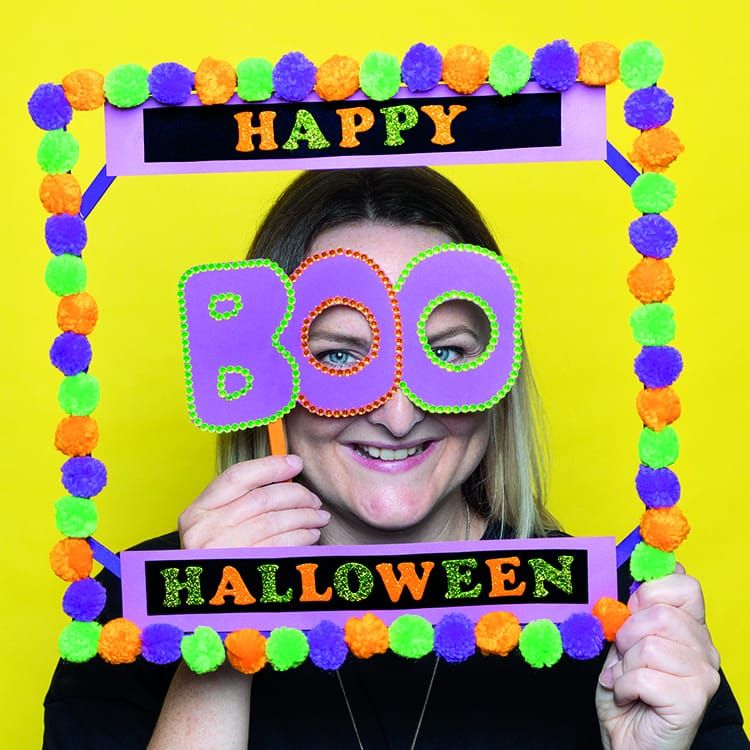
- When dry, turn the frame over and stick on your pom poms using Super Tacky Glue, following the pattern green, orange, purple, green, orange, purple, and so on.
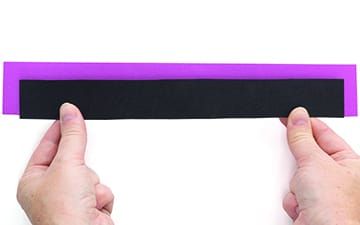
- Cut 2 pieces of purple card from the long side of your A4 card, both measuring 5cms wide.
- Cut a piece of black card 26cms long and 3.5cms wide.
- Cut a piece of black card 24cms long and 3.5cms wide.
- Stick the black card pieces to the purple card pieces using Super Tacky Glue. Try to stick them centrally so that the purple card frames evenly around the edges.
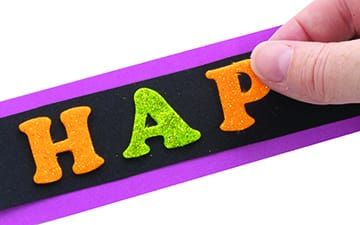
- Find your green and orange glitter letters. Peel and stick the word HALLOWEEN to the longer piece of black card, and the word HAPPY to the shorter piece.
- Stick your ‘HAPPY’ to the top of the frame by using glue on the diagonal craft sticks.
- Stick your ‘HALLOWEEN’ to the bottom of the frame.
- Allow to dry thoroughly before use.
Step 1
Step 2
Step 3








Share
×You can copy this link into emails, text messages or post on social media.
Share now