
Skill Level
Beginner
Time to Make
1 hour

How to Make
- To make a star, cut 6 black card strips measuring 2cm x 30cm.
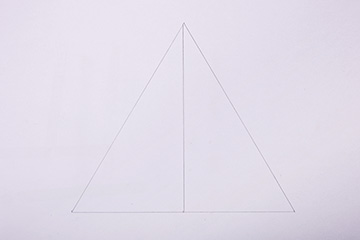
- Before sticking the strips together, draw a triangle onto white card as a guide. Use a pencil to rule a 22cm line for the triangle base then mark the middle point. Draw a 19cm vertical line from the middle point then 22cm diagonal lines on both sides to make a triangle. Check all 3 sides on the triangle are 22cm in length.
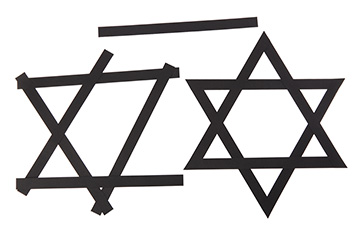
- Place 3 black cards strips along the sides of the pencil triangle with the ends overlapping. Glue the strips together to make a triangular frame, following the pencil guide. Put the triangle frame to one side then make another one in the same way using the pencil guide. Trim the ends of the triangles into points where the strips overlap then glue the 2 frames together to make a 6-pointed star.
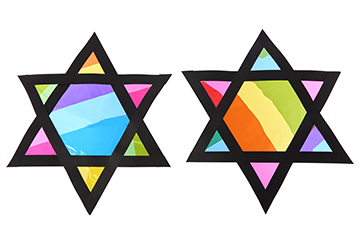
- Cut out some coloured cellophane pieces to cover the star. Use the frame as a guide for cutting pieces in different sizes for the middle area and the points on the star.
- Lightly apply glue along the edges of the card frame then press the cellophane on top. Trim off any overhanging cellophane pieces from around the edge. Try not to touch the cellophane with sticky fingers or glue. Fix the stars to a window with Blu-Tack.
Step 1
Step 2
Step 3


Share
×You can copy this link into emails, text messages or post on social media.
Share now