
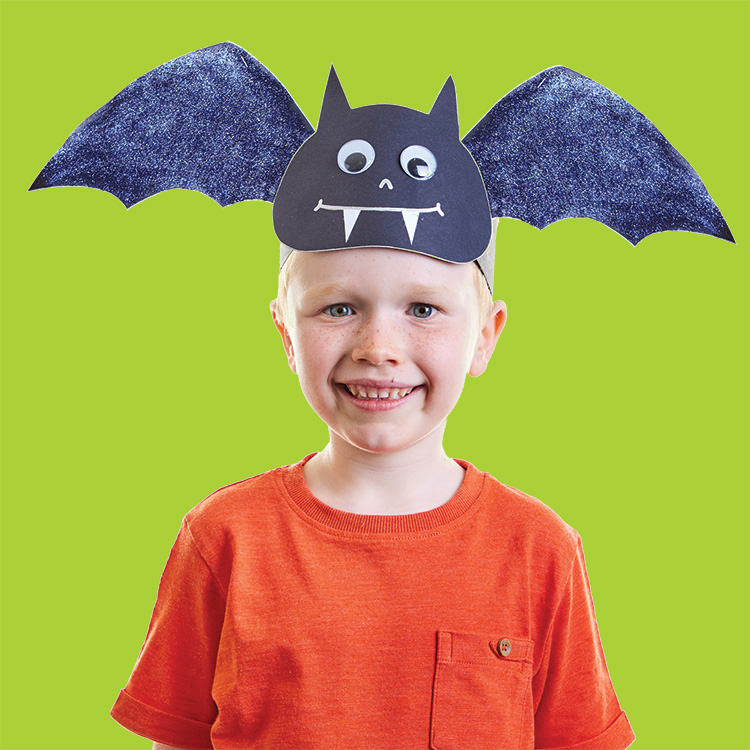
How to Make
- Print out the template and cut the pieces out of black card.
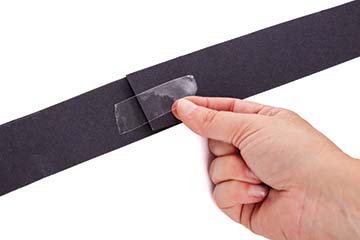
- Cut two strips of black card about 2 inches wide and stick them together at the end using tape - this will make the headband.
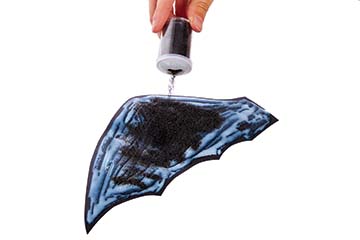
- Take the two wings and Spread PVA (glue) onto them, then choose a glitter and sprinkle it onto the glue and set aside to dry.
- Use the Silver deco pen to draw a line around the Bat’s head to help.
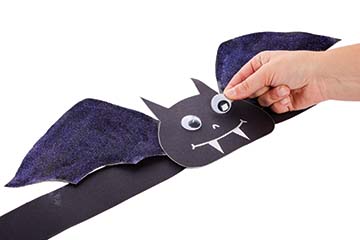
- Add the eyes, cut two white fangs from white paper and draw a smile.
- Once the wings are dry, position them and the head onto the centre of the black strip once you are happy with the placement stick down with glue.
- Then add two wooden craft sticks to the back of each wing and leave to dry.
- Finally, once it is all dry secure the band at the correct circumference for your head and enjoy your new bat hat.
Step 1
Step 2
Step 3


Share
×You can copy this link into emails, text messages or post on social media.
Share now