
Skill Level
Beginner
Time to Make
1 hour
How to Make
Tree Card- To make a tree with 5 layers and a trunk, you need 5 wooden craft sticks. Measure 4.5cm from both curved ends of 4 sticks then mark the points in pencil. Draw diagonal lines at 45-degree angles from both the pencil marks towards the curved ends.
- Carefully cut across the lines with a knife by scoring the sticks several times until they are easy to break. Use a strong snap off blade knife for cutting the sticks, or use a large pair of scissors. Smooth the ends with sandpaper.
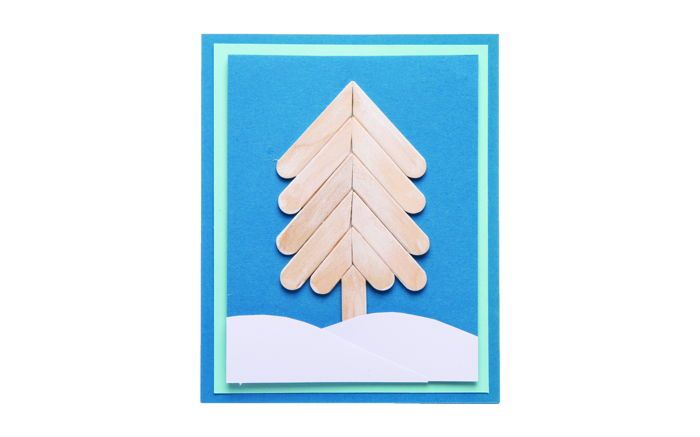
- Cut a piece of white card 3cm x 7cm then snip off 1cm from both the top corners at 45-degree angles. Start making the tree by applying glue onto a wooden stick, including the angled end, then press it onto the card, slightly above the top edge. Glue another piece of stick facing the opposite way, so the 2 angled ends join into a point. Glue the other pieces underneath so they neatly join together into a tree shape with 4 layers.
- Cut the remaining wooden stick into 2 shorter angled sections then glue in place at the bottom of the tree, with the curved ends level across the bottom. Cut the left over piece into a point at one end then glue it in place for the trunk. The card backing should now be covered. Leave the glue to dry.
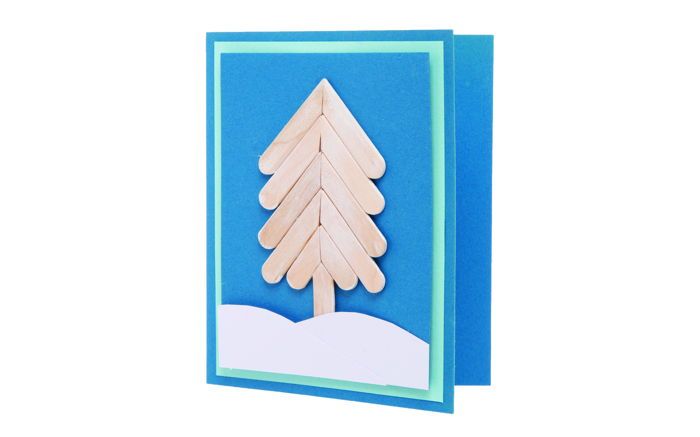
- Lightly brush over the tree with white paint for a paler colour effect, or use a subtle colour if you prefer. Keep the brush as dry as possible so the wood is still visible.
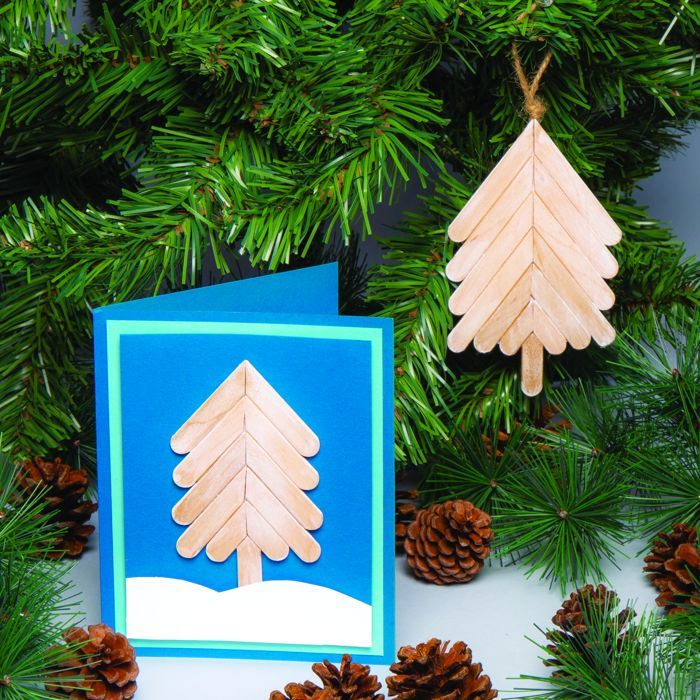
- Glue the finished tree onto a folded background card. Glue a curved white card strip over the base of the tree trunk for a snowy effect.
- The size of the backing card and number and length of the sticks can be scaled up for a bigger sized tree. To hang the tree, glue a loop of twine with a bead onto the back.
Step 1

Step 2
Step 3


Share
×You can copy this link into emails, text messages or post on social media.
Share now