
How to Make
- Fill a tray or container with 2cm of water. Add some marbling ink onto the surface of the water, one drop at a time using several colours.
- Make a pattern in surface of the water by combing the ink with the end of a brush or a spatula. You could also blow on the inks with a straw. Try not to over-mix the surface or the marbled patterns will become less distinct.
- Gently place a sheet of paper or thin card onto the surface of the water. Press down lightly to make sure the whole card has touched the surface of the water, then lift it up and leave to dry flat. You can make another print in the same way to give paler marbled effect.
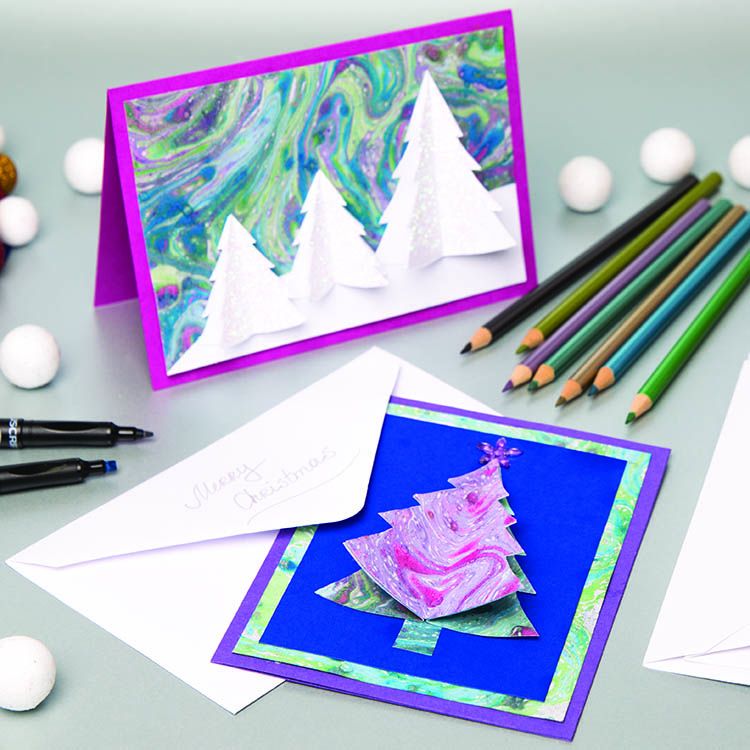
- Once the ink has dried, cut 3 pieces of marbled paper to make a tree. 14cm x 12 for a free-standing 3D tree card, 10cm x 12cm for a 3D tree card, 8cm a 6cm for smaller trees in landscape. Fold each piece of paper in half, draw a tree shape onto the white side of each piece then cut them out.
- Glue the 3 folded trees together in a stack, carefully lining up the edges with the white sides of the paper back to back. If there are any edges that don't exactly match up, trim with scissors.
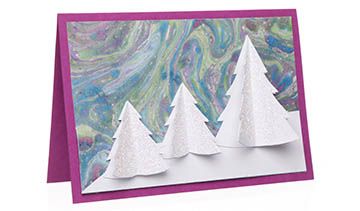
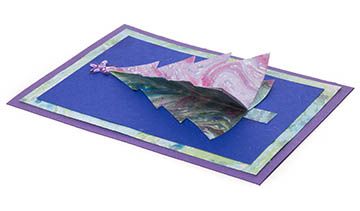
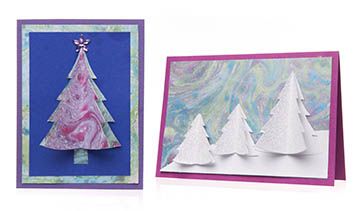
- Open out the tree to make a 3-D folded shape with 3 marbled sections. The tree can be glued onto a folded card background with a gem on the top or left as a free standing design. Or you could try making glitter-covered white trees with a marbled sky.
Step 1
Step 2
Step 3


Share
×You can copy this link into emails, text messages or post on social media.
Share now