
Time to Make
30 mins
How to Make
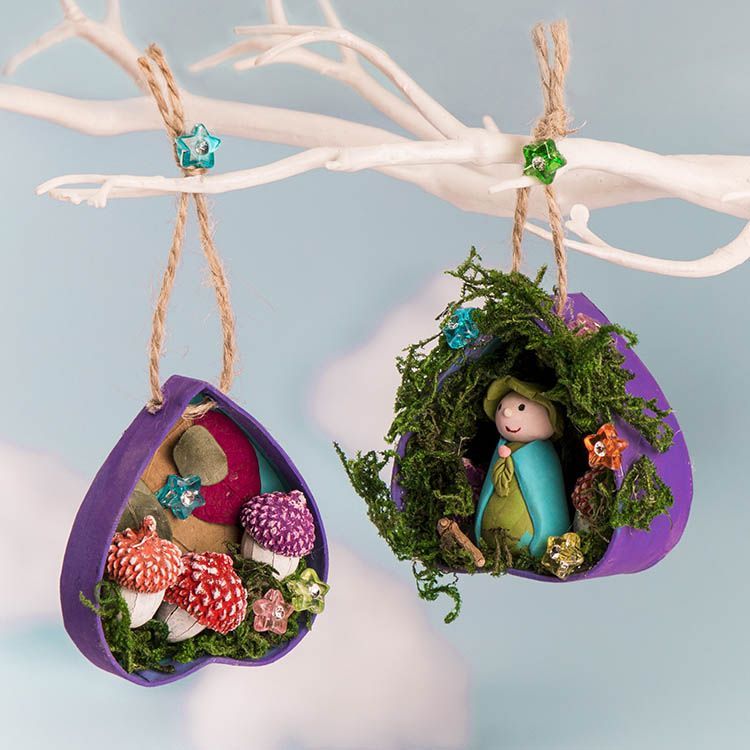
- Paint the inside and outside of a box and a matching lid. Leave to dry. Add a second coat of paint if you need to.
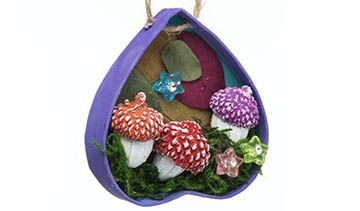
- Use acorns to make the fairy mushrooms. Sand over the acorn tops so they are flatter; this will make it easier to glue them down. Paint the acorns white for the mushroom stalks and the acorn cups in bright colours for the mushroom caps. Leave to dry. Add another coat of white if you need to and brush white over the acorn cup to highlight the spotty pattern.
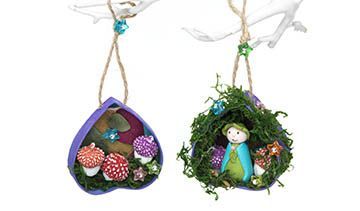
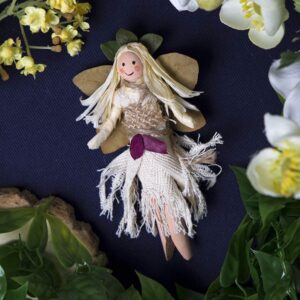
- Model a woodland fairy figure with Fimo Soft clay. Knead white Fimo with a pinch of red or brown Fimo to make a flesh colour. Roll a small ball for the head. Shape a small cone-shape for the body. Roll a thin rectangle for a cloak and wrap it around the body. Check the size to make sure the figure will fit inside the box.
- Oven bake Fimo models at 110C for 30 minutes on a baking tray or tile, following the instructions on packaging. Leave Fimo to cool before handling. Paint on the eyes and mouth or use a thin pen.
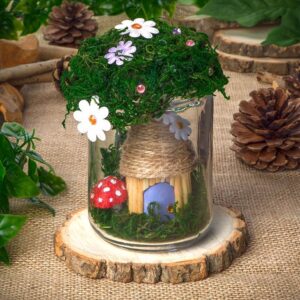
- Glue small dried leaves inside the box. Glue the Fimo model inside. Glue the mushrooms with dried moss and small sparkly beads.
- Carefully make 2 facing holes at the top of each scene using a sharp tool. Make the holes towards the front to help the box balance. Thread twine through the holes.
Step 1
Step 2

Step 3


Share
×You can copy this link into emails, text messages or post on social media.
Share now