
Skill Level
Beginner
Time to Make
30 mins
How to Make
- Stick double sided tape around the outside of your headband, then stick down some cotton wool balls in a row. Make sure to stick a smaller amount of cotton wool at the bottom of your headband and a larger amount at the top to create the right shape.
- When you have built up a good shape of padding, take a thick length of ribbon and starting at one end of the headband, use the hot glue gun to glue it in place. Then wrap the ribbon the whole way around the headband until you reach the other end. This will hold your stuffing in place and make sure none escapes.
- Cut out the template provided and pin it to the T-shirt fabric. Cut the shape out with scissors then remove the pins.
- With black textile paint, paint the fabric with a few coats until you have a full coverage, allow to dry.
- Lay your black fabric over the top of the headband making sure that there is an even amount of fabric covering the entire headband. Tightly pin your fabric in place, making sure that it keeps its shape. Take a thin strand of black embroidery thread and begin stitching it up.
- Cut out a thin strip from black felt and with a hot glue gun, glue this to the lining of the headband which you have just sewn up to hide the stitching underneath.
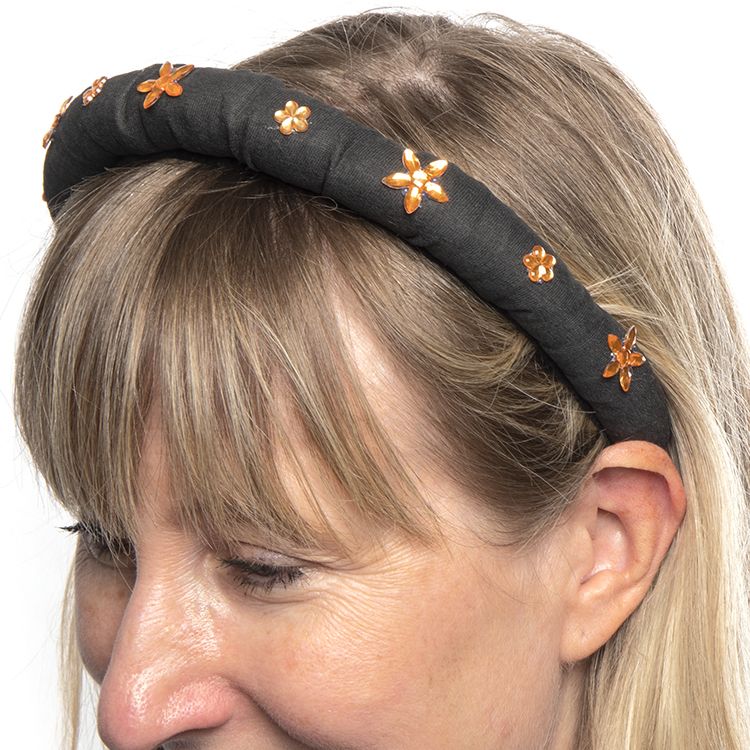
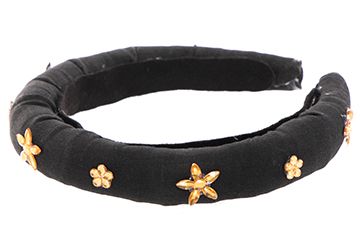
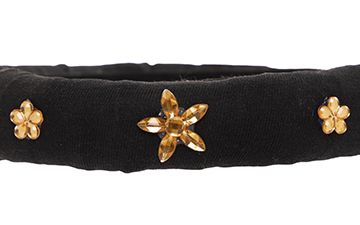
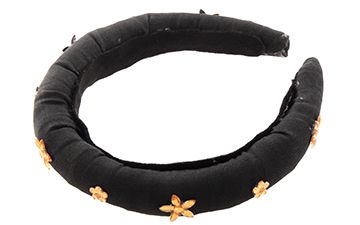
- Finish off by gluing some flower gems to the headband.
Step 1
Step 2
Step 3


Share
×You can copy this link into emails, text messages or post on social media.
Share now