
Skill Level
Beginner
Time to Make
1 hour
How to Make
- Use a coloured marker pen to draw a small circle in the middle of some white card. Make the circle pattern with short pen strokes, like a starburst. The lines can vary in length. Draw another bigger circle in a different colour to extend the pattern.
- Keep adding more colours until the pattern is about 12cm wide. Leave some white areas between the colours.
- Brush over the marker lines with clean water. Leave for a minute or two, so the colours merge together. There may be areas where the colours completely dissolve, if so, quickly add some more marker lines while the card is still wet. Dab off any excess water from the surface then allow the card to dry.
- To make a spiral tie-dye pattern, draw short pen lines in a curled spiral, making the shape wider as you work outwards from the middle. Add more pen colours, brush with water in so they blend together and leave to dry.
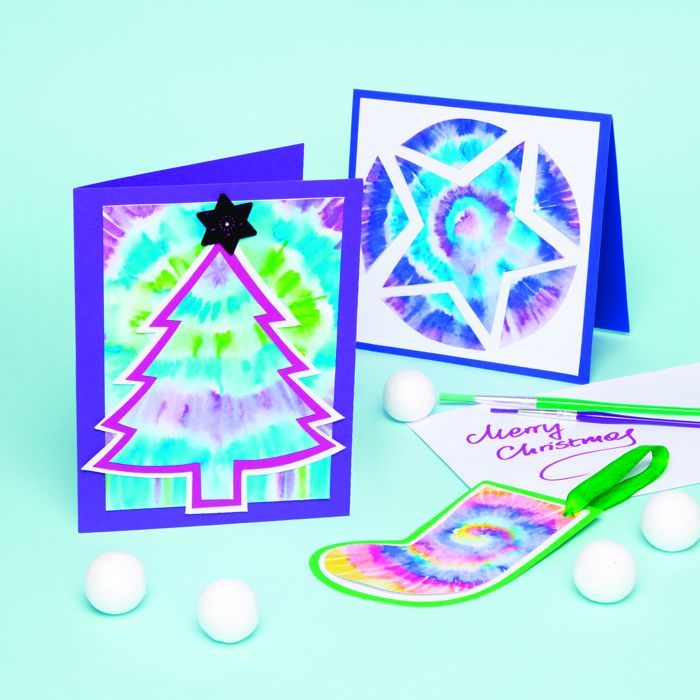
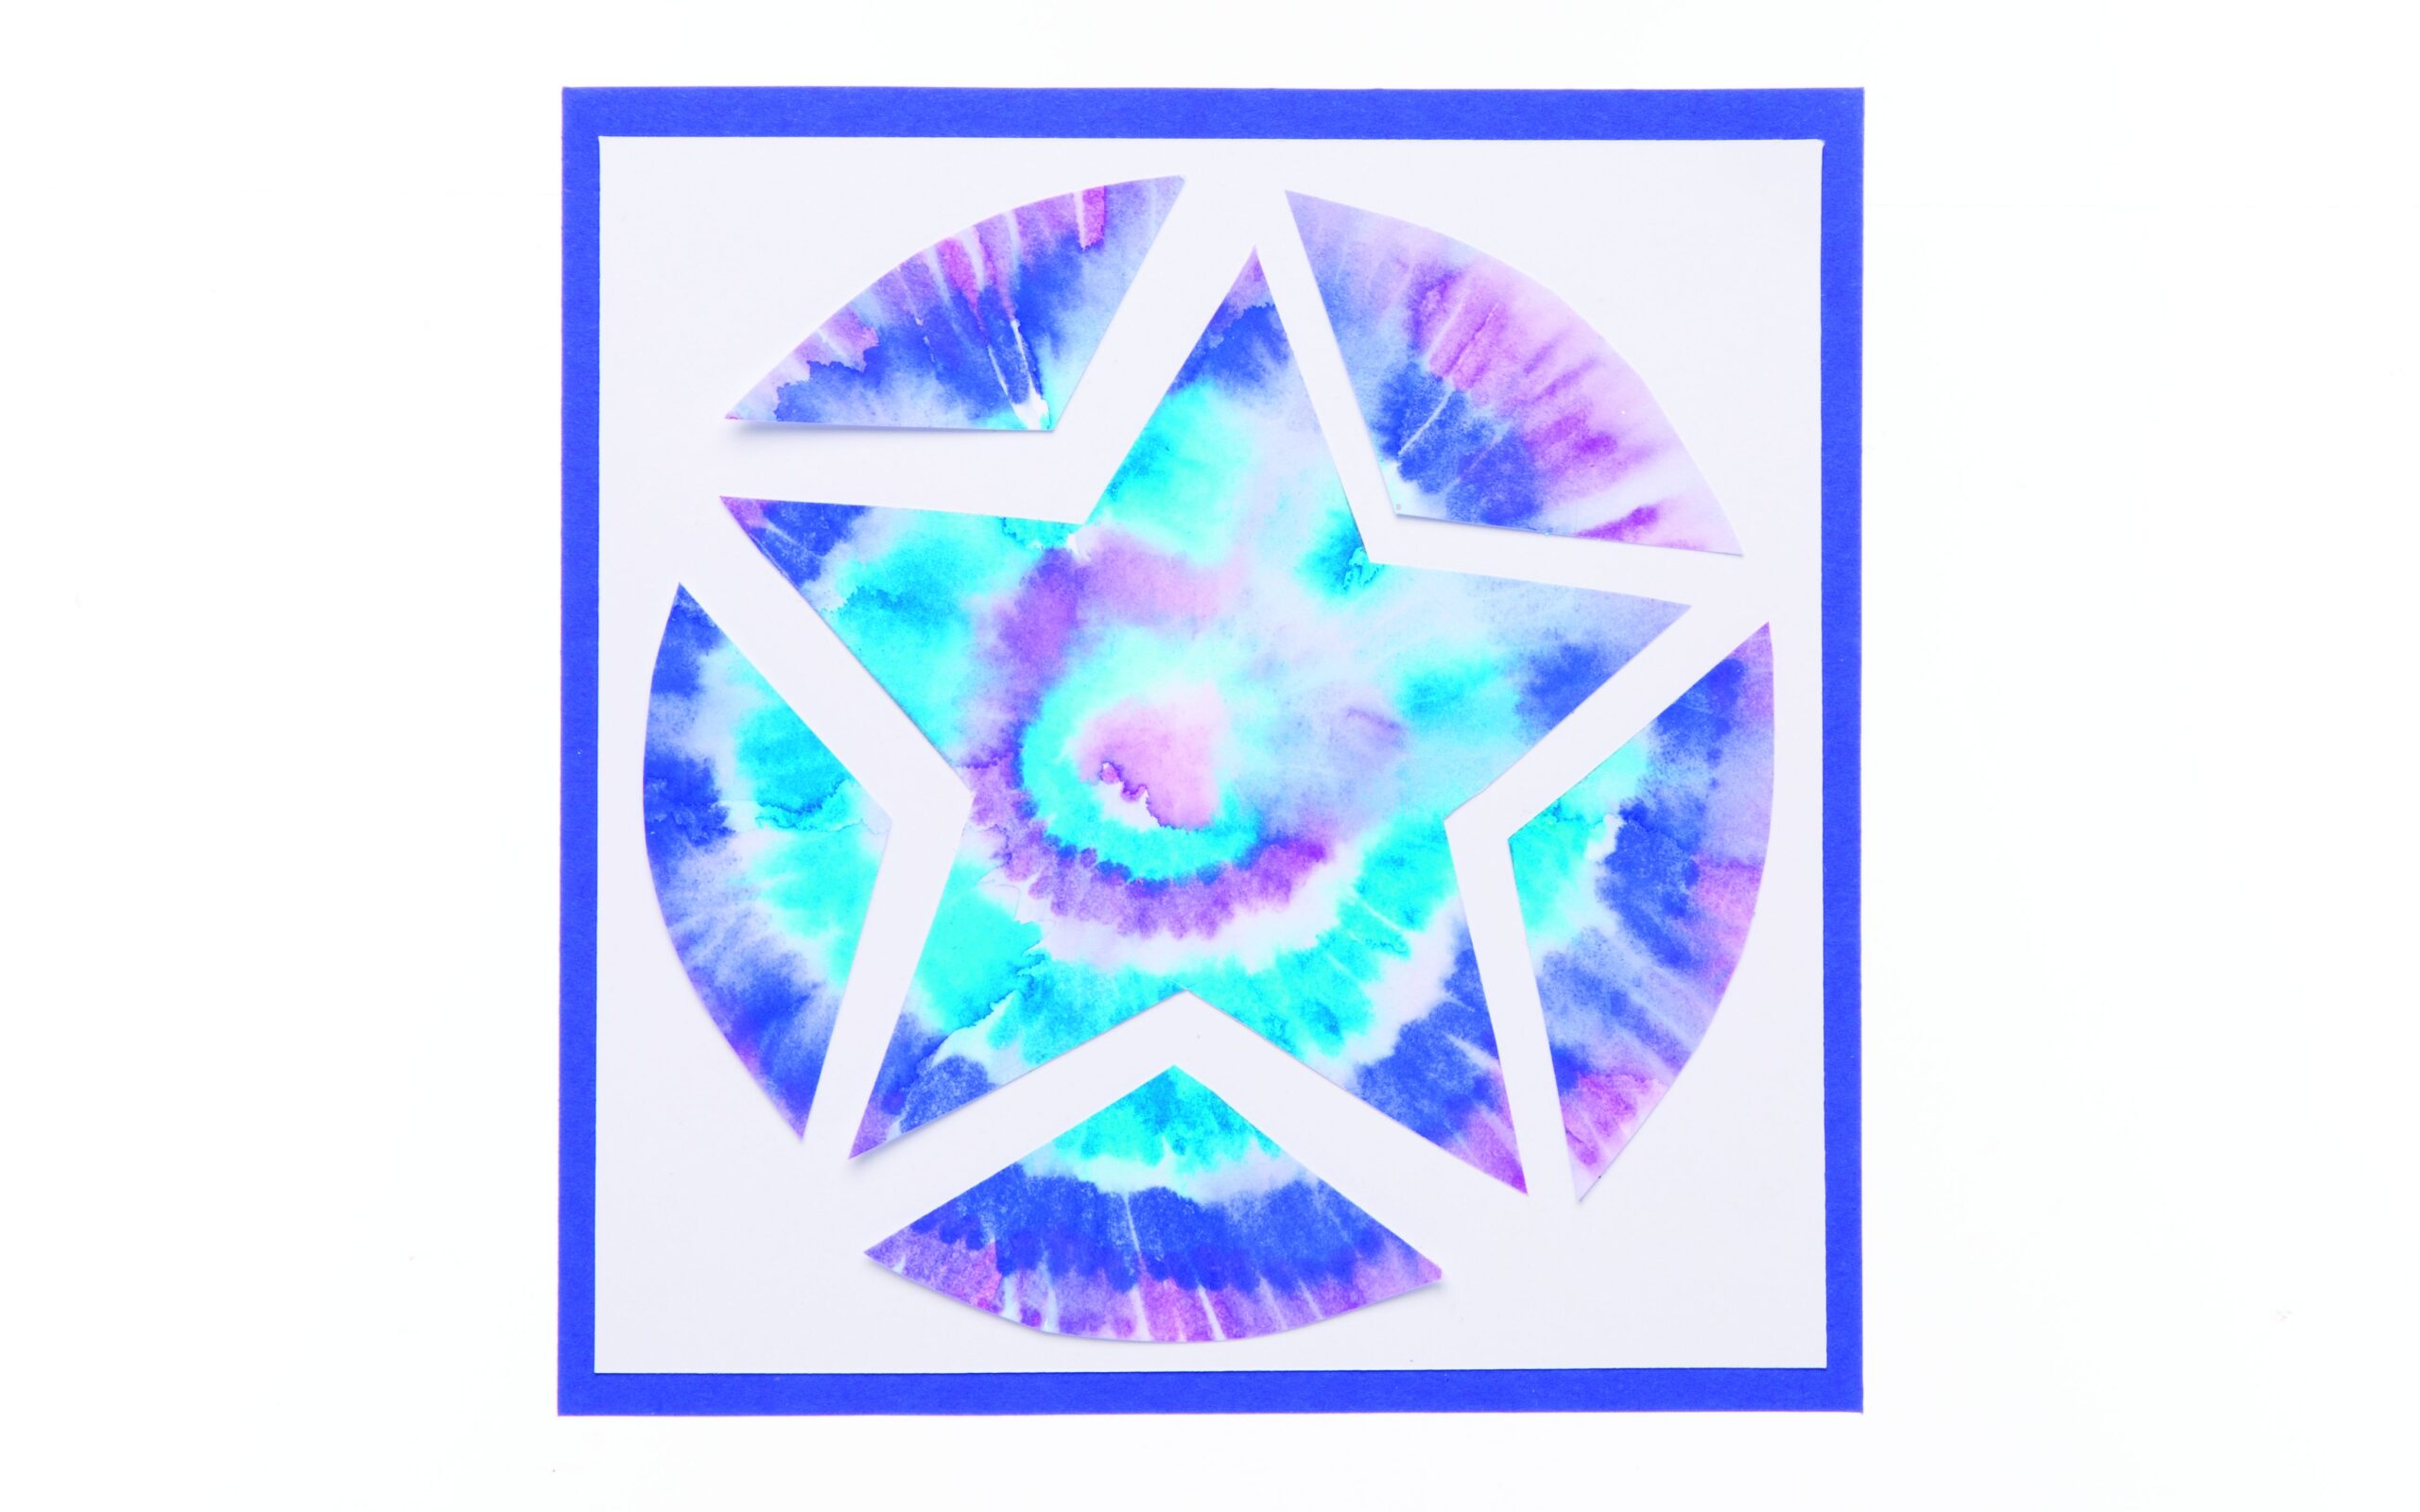
- Trim the card to remove the white edges. Draw a simple shape, like a star or tree, onto the tie-dye pattern then cut it out. For multiple or matching card designs, make a card template shape to draw around.
- Cut out the tie-dye Christmas shape then glue it onto a folded card or tag with a glue stick. Left over tie-dye pieces can be cut into strips or shapes to add to the design, or used as a background. Glue sequins onto the card as decoration.
Step 1

Step 2
Step 3


Share
×You can copy this link into emails, text messages or post on social media.
Share now