

How to Make
- Download and print off the template provided then cut out the envelope template in your chosen card colour.
- Bend the edges of the envelope into the centre, then with a thin strip of double sided tape stick the bottom three flaps down.
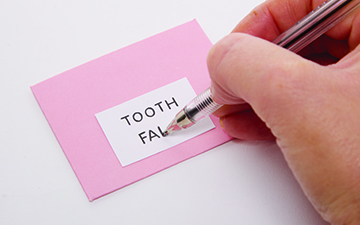
- From white card, cut out a small rectangle then stick this to the front of the envelope. With a thin black pen write ‘Tooth Fairy’ or your name to personalise.
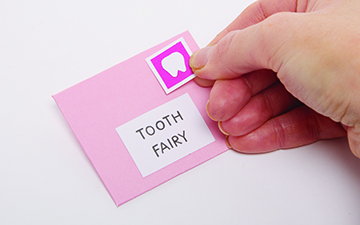
- Cut out a small square from white card then stick this to the right hand corner of the envelope.
- Cut out a small square from pink card, slightly smaller than the first, then stick this on top of the white square.
- Cut out a small tooth shape from white card then stick this on top of the pink square to create the tooth stamp.
- To finish, cut out a small rectangle approx 5cm x 6cm from white card then slot this inside the envelope for the card.
Step 1

Step 2
Step 3


Share
×You can copy this link into emails, text messages or post on social media.
Share now