
How to Make
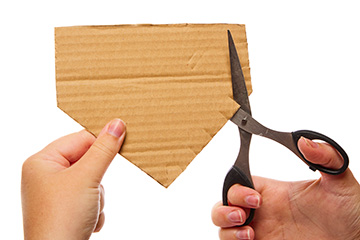
- Using the template cut out the fox’s head body and tail from cardboard, the ears from orange card and the inner ears from white card.
- Using scissors, cut slits around the cardboard shapes.
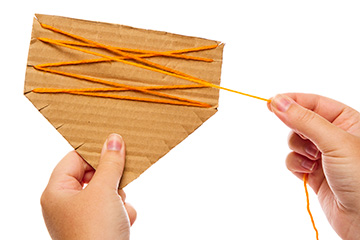
- Tape the end of the wool to the back of the shape and then wrap it around the cardboard shape between the slits you previously created. For the fox’s head and tail you will wrap orange and white wool around the shapes. Wrap the bottom of the head and the end of the tail with white wool.
- Secure the ends of the wool by sticking them down or tying them.
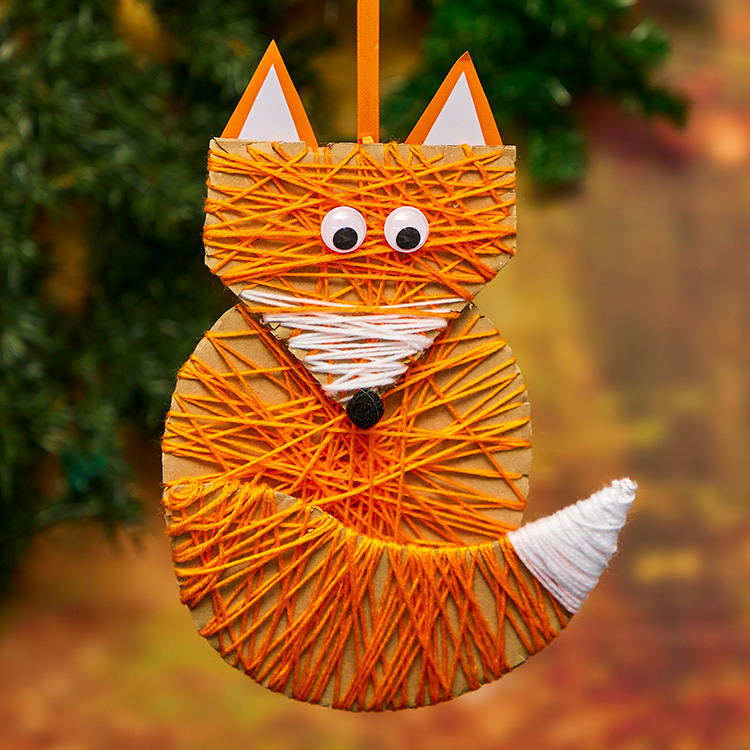
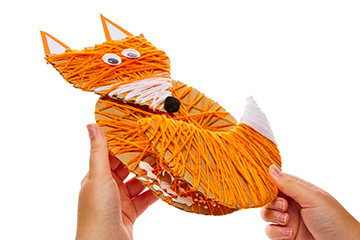
- Assemble the head by sticking 2 wiggle eyes and black pom pom for the nose and then stick the ears to the back of the head.
- Stick the tail and head to the body of the fox using super tacky glue and allow to dry.
- Lastly, cut a length of orange ribbon, make a loop, and then stick it to the back of the fox using sticky tape.
Step 1
Step 2
Step 3


Share
×You can copy this link into emails, text messages or post on social media.
Share now