How to Make
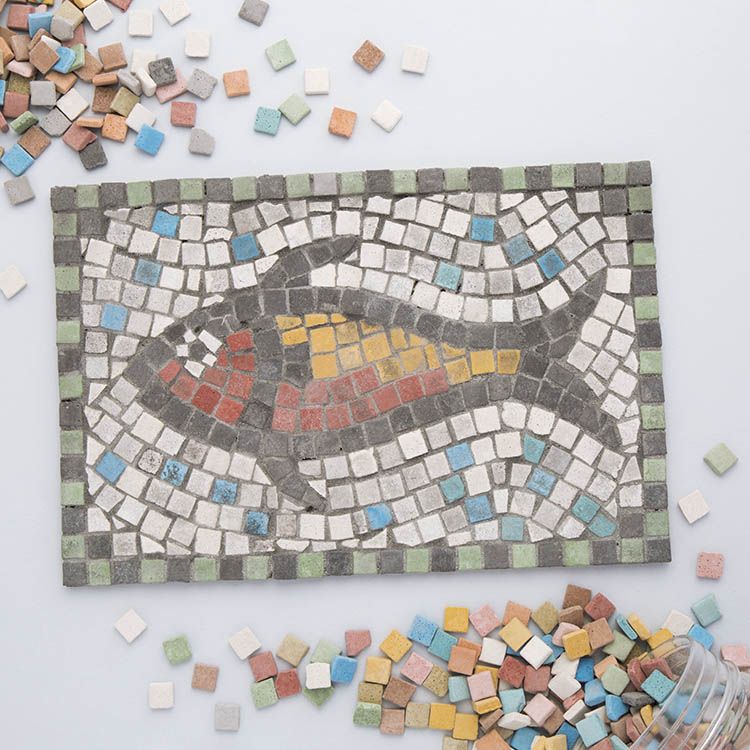
- Glue several MDF squares onto a piece of card to create a background for your mosaic. Push the squares close together. Having a bigger background makes it easier to design a more detailed picture. The fish shown here is made from 6 MDF squares.
- Draw a simple outline for a picture onto the background. Keep the shapes clear and bold. Allow some space for a border around the edge.
- Separate the mosaic stones into bowls or containers with different colours so they are easy to select when you start filling in the design.
- Before you glue the stones onto the background, think about which colours would work well on the different areas. Dark and light colours placed together help to define a design.
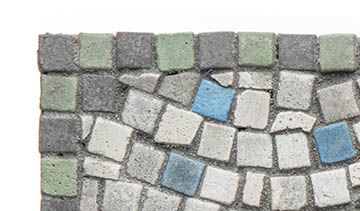
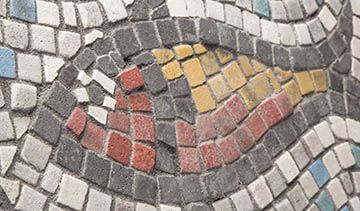
- Brush glue over a small area of the background (aprox 6cm x 6cm), then start sticking the mosaic stones following the picture outline. Place the stones close together, with 1-2mm between each one. Mosaic stones can be carefully trimmed with scissors to make angled, rounded and pointed pieces or into smaller pieces to fill in the gaps.
- Leave the glue to dry thoroughly for at least 1 hour so the tiles are firmly stuck onto the background.
- Mix up some grout with water, using 4 parts of grout powder with 1 part of water. The consistency should be smooth and creamy, but not too runny. Add more grout to the mix to thicken it if necessary. Stir in a small amount of paint to make coloured grout, or you can leave it white.
- Use a sponge to spread the mixture over the mosaic design so the spaces between the stones are filled. Immediately after the filling material has been rubbed between the stones, rinse the sponge with water and after wringing out the excess water from the sponge, clean off any remaining material from the surface of the mosaic. Repeat this step several times using a damp sponge, until the mosaic has been completely cleaned of any remaining material. Leave to dry.
Step 1
Step 2
Step 3






Share
×You can copy this link into emails, text messages or post on social media.
Share now